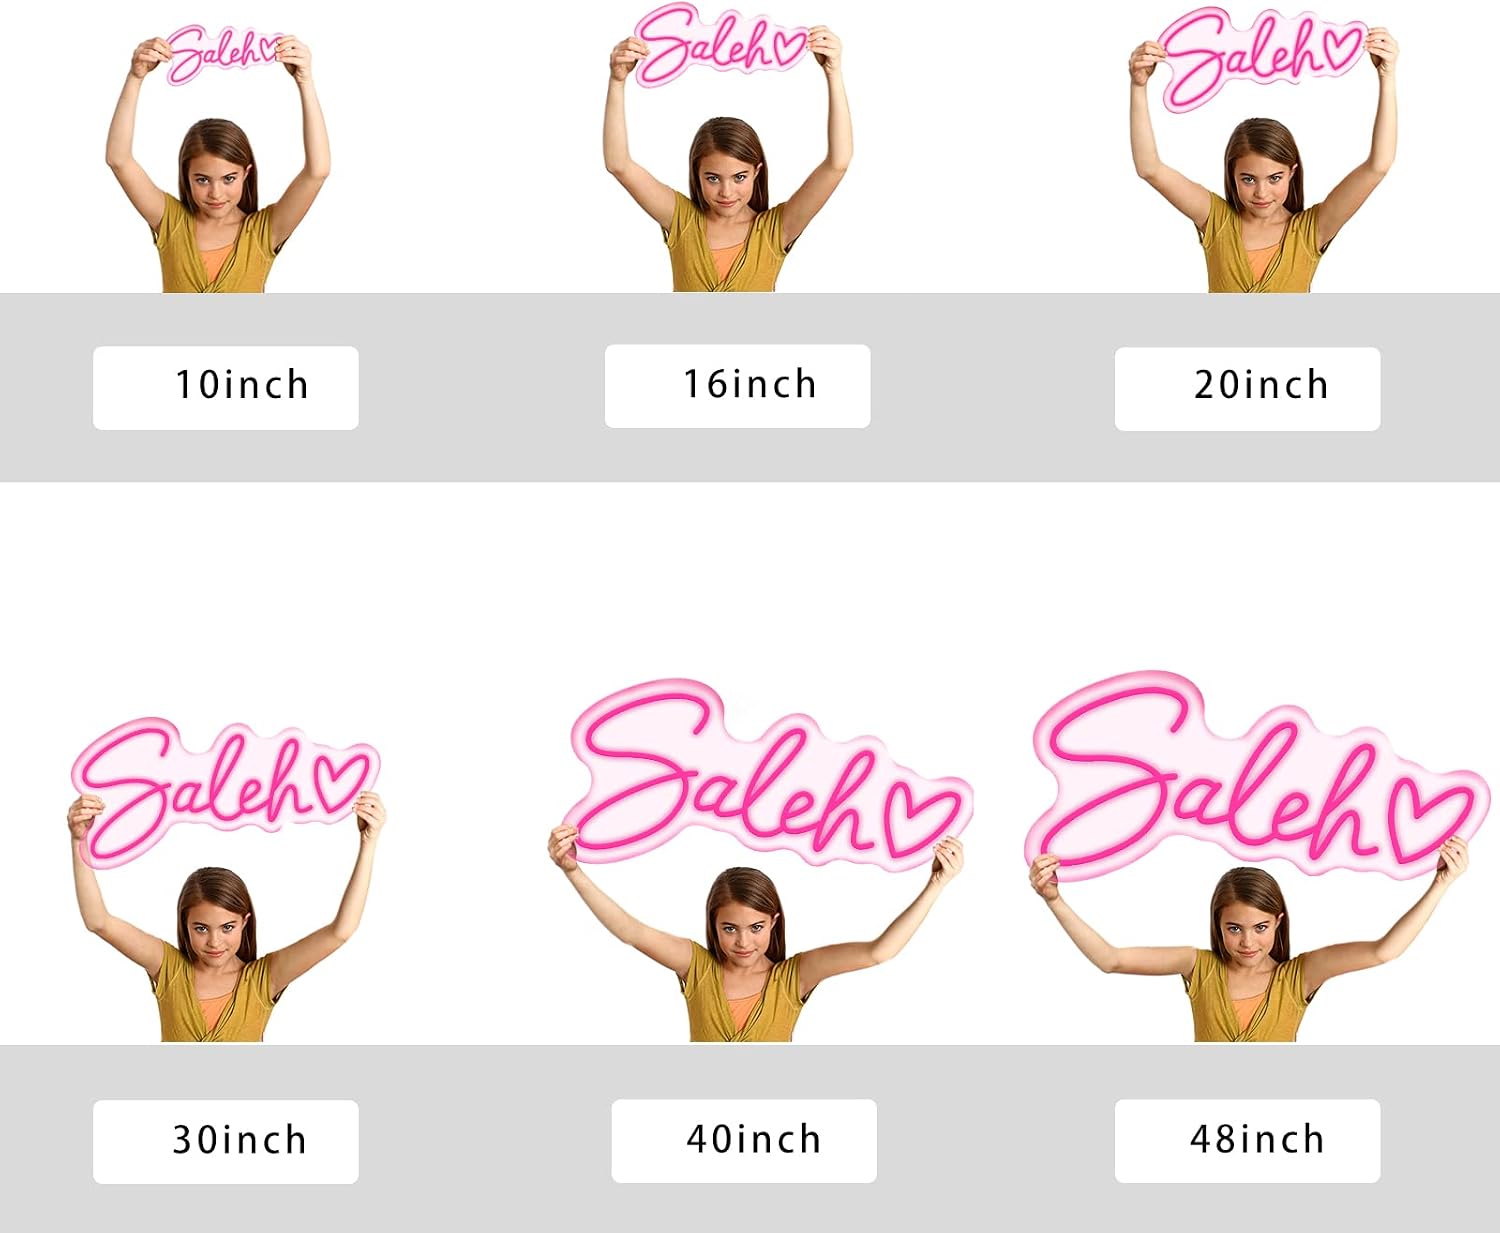
A neon sign — whether it’s a flex LED tube bent into a script logo or a hand-blown glass neon tube mounted on clear acrylic — is not a picture frame. It carries live electrical current, it has a specific transformer (the box that converts wall power to the voltage the sign needs) with specific amperage limits, and it arrives in packaging designed to survive a shipper’s worst day. Most buyers research the sign itself exhaustively: color, font, brightness. Almost nobody researches the wall until they’re standing in front of it holding a drill. That gap is where most post-purchase friction lives — and it’s exactly what this guide closes. If you’re sourcing a sign for a bar buildout, a wedding installation, or a premium home feature wall, what follows is what reviewers across thousands of verified purchases consistently flag as the surprises they didn’t see coming.
The Cord Problem Nobody Budgets For
Power cord length is a placement constraint, not an afterthought. Across aggregated buyer reviews on large-format LED neon signs, the pattern is consistent: owners discover the power cord is shorter than the distance to the nearest outlet, and the sign ends up off-center or repositioned entirely to solve a logistics problem.
Most LED neon flex signs ship with cords in the 60–79 inch (roughly 5–6.5 foot) range. Glass neon signs — which run on higher-voltage transformers — sometimes include longer leads, but transformer placement then becomes its own constraint. The transformer box on a glass neon sign is not a small brick; it’s typically a steel enclosure the size of a hardback book, and it needs ventilation clearance and a permanent mounting point or shelf of its own.
Before you finalize placement, map the circuit:
- Identify your outlet location and measure the true cable run — not straight-line distance, but the path the cord will travel along the wall or baseboard.
- Add 12 inches of slack for strain relief (the bend where the cord meets the sign or transformer should never be tight).
- If the cord falls short, use a heavy-gauge extension cord rated for the sign’s wattage — not a light-duty indoor extension. Signs of the Times’ 2023 mounting standards note that undersized extension cords are one of the most common field errors on illuminated sign installations.
- For permanent commercial installations, the cleanest solution is a licensed electrician roughing in an outlet behind the sign — it eliminates visible cord runs entirely.
By the numbers:
- Typical LED neon flex cord length: 60–79 in. (5–6.5 ft.)
- Typical glass neon transformer cord: 36–48 in. (3–4 ft.) to transformer; transformer to outlet varies
- Recommended extension cord gauge for signs under 100W: 16 AWG minimum
- For signs 100W–300W: 14 AWG minimum
Wall Anchors, Mounting Hardware, and the Acrylic Panel Problem
The included mounting hardware in most consumer-grade LED neon sign kits is fine for drywall with studs behind it. It is not fine for tile, plaster, concrete, or — critically — drywall in between studs where the anchor has to carry the full load in hollow wall.
Apartment Therapy’s 2025 guide on hanging heavy wall objects makes a point that applies directly here: toggle bolts (also called butterfly anchors) are the right tool for hollow drywall when studs aren’t available, and they dramatically outperform the plastic expansion anchors most sign kits include. For a large acrylic-backed neon sign in the 8–15 lb range, use #10-32 toggle bolts rated for at least 50 lbs each in hollow wall — a margin that accounts for vibration from the transformer and any incidental contact.
For masonry or concrete (a common scenario in bar and restaurant buildouts), sleeve anchors or Tapcon screws with a hammer drill are the correct approach. The plastic anchors included in a retail sign kit will not hold in masonry. Full stop.
A note on Command strips: They work for lightweight signs — typically under 5 lbs on a flat, painted drywall surface. For anything larger, or for installations where a fall would mean a shattered glass neon sign or a liability event, Command strips are not an appropriate primary fastener. They’re a reasonable secondary solution for positioning a small acrylic sign on a rental wall where drilling is prohibited, but owners report that they fail over time in warm or humid environments (a real concern behind a bar or in a venue with fluctuating HVAC). The Knot’s 2025 wedding neon installation guide specifically advises event stylists to use dedicated sign stands or rigged fishing-line suspension from ceiling structures rather than adhesive strips for anything over 4 lbs — a lesson that also surfaces directly in buyer reviews of popular “Mr and Mrs” ceremony signs, where fishing-line suspension from a backdrop arch is the recommended method precisely because adhesive fails on fabric and pipe structures.
Electrical Constraints You Won’t Find on the Product Listing
This is the section that most buyer reviews wish had existed before they plugged anything in.
USB-powered signs and charger amperage: Some LED neon signs — particularly smaller decorative units designed for desk or shelf placement — are USB-powered. Reviewers of these products consistently flag a detail that no product listing communicates clearly: these signs specify a 5V-1A power adapter, and plugging them into a 5V-2A charger (a phone charger, essentially) causes flickering, flashing, or erratic behavior. The sign isn’t broken. The amperage is wrong. If your USB neon sign flickers the moment you plug it in, the first diagnostic step is to check your charger’s output amperage, not the sign itself. Use a 5V-1A adapter — a basic single-port USB charger, not a fast-charger or multi-port hub.
Timer caps: Some LED neon controllers include a built-in timer function that maxes out at 1 hour of continuous on-time. Buyers who discover this after installation — typically in a commercial context where the sign is meant to run for an evening — describe it as an unexpected and frustrating constraint. If your installation requires continuous operation beyond 1 hour, verify that the included controller either has no timer cap or has a continuous-on mode before the sign is on the wall. If it doesn’t, a simple external smart plug (set to a repeating schedule) bypasses the timer entirely.
Dimmer compatibility: LED neon flex signs are generally dimmable, but only with compatible dimmer switches. Standard incandescent-rated dimmers cause LED flicker and can shorten transformer life. If you’re integrating a neon sign into a smart-home system or specifying one for a hospitality buildout, confirm that the transformer is rated for 0-10V dimming or PWM dimming — the two protocols most common in commercial smart-lighting ecosystems. Sign Media Magazine’s 2024 installation best-practices piece notes that transformer-dimmer mismatch is among the top five causes of premature LED driver failure in signage applications.
Unboxing as a Safety Step: What to Inspect Before You Mount
Glass neon signs arrive in packaging that reviewers consistently describe in terms like “foam for days” and “box within a box.” That packaging isn’t theater — it communicates exactly how fragile the product is. Before you mount anything, treat the unboxing as a structured inspection, not a moment of excitement.
Incoming inspection checklist:
- Tube integrity (glass neon): Check every inch of the glass tube for hairline cracks, especially at bends. Cracks in glass neon are not always visible until the sign is illuminated — power it on before mounting.
- Flex tube integrity (LED neon): Look for kinks, pinches, or sections where the silicone jacket has separated from the LED strip inside. Bent-back sections that were forced during packaging are the most common damage point.
- Cord and plug condition: This is where a quality-control failure can become a safety issue. A pre-cut or partially severed power cord — a scenario that surfaces in buyer reviews of at least one popular script-font sign — is not a minor cosmetic defect. Do not power on a sign with a damaged cord. Photograph it and contact the manufacturer before anything else.
- Mounting hardware completeness: Count the screws, anchors, and standoffs against the included hardware list. Missing hardware is easier to resolve before you’re mid-installation.
- Controller and remote: Test every function — brightness, color cycling if applicable, timer — before the sign is on the wall.
- Transformer heat test: After 10 minutes of operation, the transformer should be warm but never hot to the touch. Excessive heat at initial power-on can indicate a voltage mismatch or a defective unit.
Architectural Digest’s 2024 feature on neon as an interior design element notes that the sign category has matured significantly in terms of manufacturing quality, but incoming inspection discipline remains the buyer’s best protection against a damaged-in-transit unit that only surfaces as a problem after installation.
If X, Then Y: The Installation Decision Framework
For practitioners managing multiple projects or building a rental inventory, here’s the decision tree that resolves most mounting questions before they become on-site problems.
If the sign weighs under 5 lbs and the wall is painted drywall in a climate-controlled space: Command strips are acceptable for temporary or rental installations. Use toggle bolts for anything permanent.
If the sign weighs 5–15 lbs and studs are accessible: Pilot into studs with #8 or #10 wood screws. No anchor needed. This is the most reliable solution for permanent installations.
If the sign weighs 5–15 lbs and studs are not accessible: Toggle bolts, rated for at least 2x the sign’s weight per anchor point. Two anchor points minimum.
If the installation surface is masonry or concrete: Tapcon screws or sleeve anchors with a hammer drill. The included hardware will not work.
If the USB neon sign flickers: Check charger amperage first. Replace with a 5V-1A adapter before assuming a defective sign.
If the sign needs to run continuously for a commercial setting: Verify the controller has no timer cap, or bypass with a smart plug on a continuous schedule.
If the sign is glass neon and the transformer runs hot: Do not leave it unattended. Contact the manufacturer. Glass neon transformers run warmer than LED drivers by design, but excessive heat signals a mismatch or defect.
If a cord arrives pre-cut or visibly damaged: Photograph, do not power on, and initiate a warranty claim before installation. No inspection workaround makes a damaged power cord safe.
The through-line across all of these scenarios is the same: installation planning belongs in the sourcing conversation, not in the moment you’re standing on a ladder. The buyers who report the smoothest experiences are the ones who asked the cord-length question, the wall-surface question, and the controller-function question before the sign shipped — not after.
Frequently Asked Questions
What wall anchors should I use for a large acrylic neon sign? For hollow drywall without stud access, use toggle bolts (butterfly anchors) rated for at least 50 lbs per point — significantly more than most large acrylic signs weigh. This margin accounts for vibration and incidental contact. For masonry or concrete, use Tapcon screws with a hammer drill. The plastic expansion anchors included in most sign kits are adequate only for stud-backed drywall.
Why does my USB neon sign flicker or flash when plugged in? The most common cause is charger amperage mismatch. USB neon signs typically require a 5V-1A adapter. Plugging into a 5V-2A charger (standard phone charger or multi-port hub) causes the flickering behavior buyers describe. Swap to a single-port 5V-1A USB charger as a first diagnostic step before assuming the sign is defective.
Can I use Command strips to hang a neon sign without drilling? For signs under approximately 5 lbs on clean, painted drywall in a stable-temperature environment, Command strips work for temporary or rental installations. For anything heavier, or for installations in warm or humid environments, owners report adhesive failure over time. Event stylists working with ceremony signs consistently recommend fishing-line suspension from structural rigging rather than adhesive strips for anything over 4 lbs.
How long are the power cords on most LED neon signs? Most LED neon flex signs ship with cords in the 60–79 inch range (5–6.5 feet). Glass neon signs have shorter leads to the transformer, with the transformer then requiring its own outlet proximity. Always measure your actual cable run — wall path, not straight-line distance — before finalizing sign placement.
Is the included mounting hardware strong enough for a permanent installation? It depends entirely on your wall surface. Included hardware is generally adequate for stud-backed drywall. It is not adequate for hollow drywall between studs, tile, plaster, or masonry. Upgrade to toggle bolts or masonry anchors as the surface requires.
What should I inspect when a neon sign arrives before I install it? Power the sign on before mounting it. Check tube or flex-tube integrity for cracks or kinks, inspect the cord and plug for any damage (a pre-cut cord is a safety issue, not a cosmetic one), verify all mounting hardware is present, and test every controller function. For glass neon, check the transformer temperature after 10 minutes — warm is normal, hot is not. Photograph any damage immediately for warranty documentation.