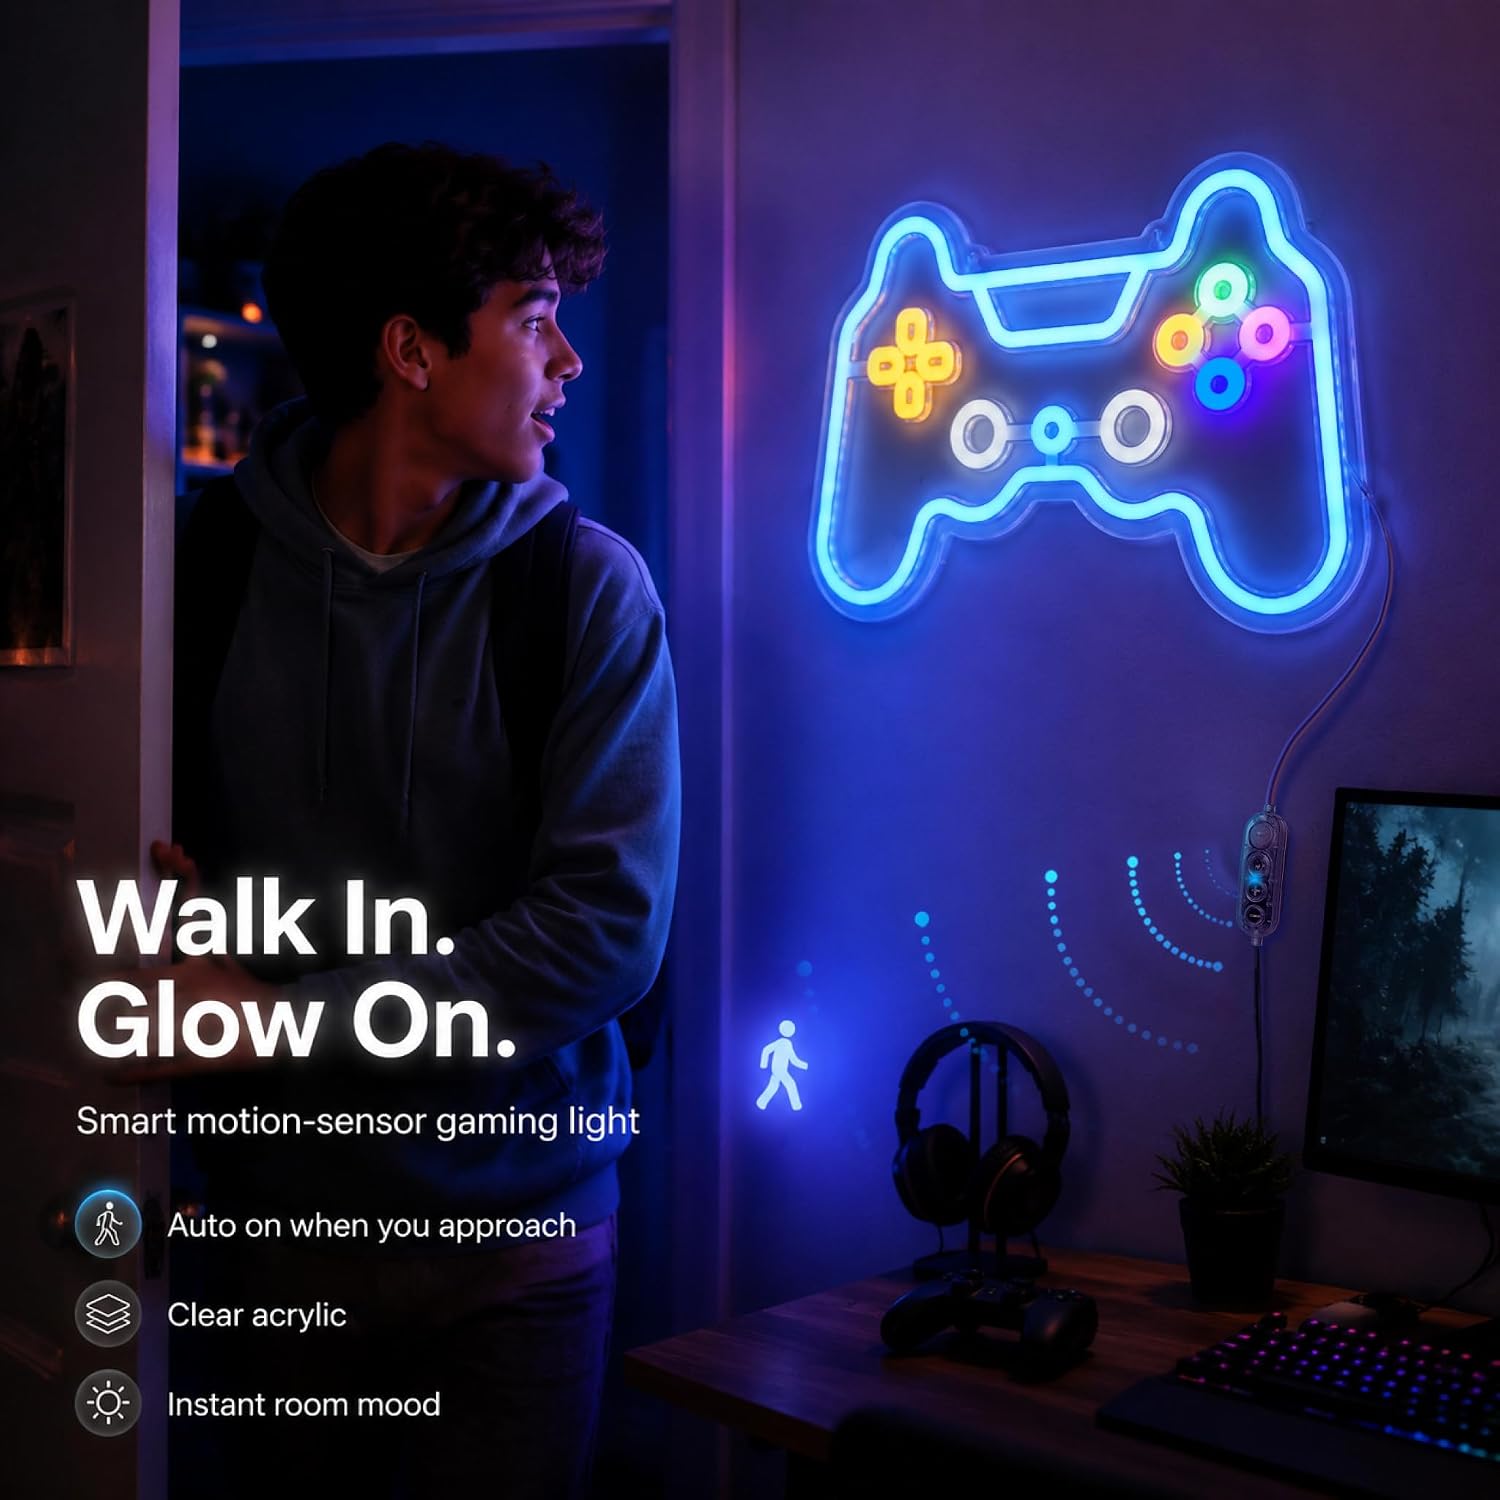
Motion Sensors, Dimmers, and USB Specs: The Neon Sign Feature Checklist Buyers Overlook
You’ve approved the artwork, paid the deposit, and the sign is on its way. Then it arrives — and the first thing you do is plug it into the nearest phone charger. It flickers. Or it’s so bright it washes out the whole wall. Or you realize there’s no way to mount it without drilling. These aren’t fringe complaints; they’re the most common post-installation surprises documented across hundreds of real owner reports, and every single one of them was preventable at the ordering stage. LED neon signs (flexible silicone or PVC tubes backlit by LED strips, as opposed to traditional glass neon filled with gas) have a short list of make-or-break technical details that most product pages bury in the fine print — or skip entirely. This guide surfaces those details, explains why they matter in plain terms, and gives you a decision framework for each one before you place your next order.
| EDITOR'S PICKOpen Sign for Business with 49… | Mid-tierLucunstar You're Like Really Pr… | Budget pickNeon Lights for Wall Decor - Th… | |
|---|---|---|---|
| Color modes | 49 | — | — |
| Dimmable | — | ✓ | ✓ |
| Power | — | USB | USB |
| Size | 20 x 22in | — | — |
| Mounting | — | — | Adhesive hook |
| Price | $189.77 | $27.95 | $23.89 |
| See on Amazon → | See on Amazon → | See on Amazon → |
The USB Voltage Problem Nobody Warns You About
This is the single most consequential spec on a USB-powered LED neon sign, and it’s the one most buyers discover the hard way.
A reviewer of the VIKLIU sunset sign documented exactly the failure mode you want to avoid: plugging the sign into a 2A USB charger (the kind that ships with most Android phones and tablets) caused the sign to flash continuously rather than illuminate steadily. Swapping to a 5V 1A adapter resolved it immediately. That’s a non-obvious failure — nothing about the sign visually signals “wrong charger.” You just see a strobing light and assume the product is defective.
Here’s the electrical logic: many budget LED neon controllers are designed around a 5V 1A (5-watt) power draw. A 2A charger (10 watts at 5V) doesn’t fry the sign — the sign’s controller draws what it needs — but some controllers interpret the higher-amperage handshake signal from a “fast charge” or high-output USB port as an instruction to cycle power rapidly. The result is a flicker loop that looks like a hardware defect but is actually a compatibility mismatch.
What to check before ordering:
- Does the product listing specify “5V 1A” or “5V 2A”? Match your adapter to that spec exactly.
- Does the sign ship with a power adapter, or do you need to source your own? This is more common than buyers expect. Multiple owners across product categories report signs arriving without a USB brick. One reviewer solved it with an Amazon Firestick adapter; another sourced a generic 5V 1A wall plug. Neither is a disaster, but you need to know in advance — especially for an event installation where you can’t run to an electronics store the morning of.
- If you’re powering multiple signs from a single USB hub or smart home plug, verify the hub’s per-port amperage rating. A hub rated 2.4A total across four ports may deliver inconsistent voltage under load.
As Sign Media’s fabricator analysis notes, LED driver compatibility is the most underdocumented variable in the consumer LED neon segment — a problem that shows up at the point of installation rather than at the point of sale.
Dimmers: Not a Luxury, a Requirement for Certain Installations
The default brightness on most LED neon signs is calibrated for visibility in a well-lit retail or event space. In a bedroom at 10 PM, that same brightness level is aggressive enough that multiple owners describe it as “impossible to sleep with on.” One reviewer said flatly that the sign was “too bright” at full power and that dimming was not optional — it was the only reason the sign remained in the room at all.
Across the owner-report dataset, two dimming mechanisms appear most frequently:
1. Inline three-step button dimmer A small controller wired into the power cable with a single button that cycles through three brightness levels (typically 100%, 50%, and 25%) plus off. It’s reliable, requires no pairing, and costs almost nothing to add at the fabrication stage. The limitation: three fixed steps isn’t granular enough for photography or video work, where even a 25% difference in light output changes your exposure.
2. Remote control dimmer A separate RF or IR remote that gives you continuous or multi-step brightness control from across the room. One buyer described the remote dimmer add-on as “very worth it” specifically for a wedding installation — because at an event, you need to adjust brightness as the room transitions from cocktail hour to reception without physically reaching behind the sign. For event stylists and rental prop operators, this is the correct default choice.
Decision rule:
- Bedroom / nursery / home office (ambient, always-on): three-step inline dimmer is sufficient.
- Photography backdrop, event venue, restaurant bar wall: spec the remote dimmer. The price delta is typically $15–$40 at order time; retrofitting a remote-compatible controller later is a teardown.
- Smart home integration (Alexa, Google Home, HomeKit): neither a button dimmer nor a standard RF remote works natively. You need a sign powered via a compatible smart plug (TP-Link Kasa, IKEA Tradfri, or similar) or a sign that ships with its own Wi-Fi module. Verify this at order time — not all fabricators offer it, and it’s rarely listed prominently.
Architectural Digest’s coverage of neon sign installations in residential design consistently emphasizes that light-level control is what separates a statement piece from a nuisance. The spec is worth asking about.
Motion Sensors: What They Actually Do (and Don’t Do)
Motion sensor functionality on LED neon signs is frequently misunderstood at point of purchase. Here’s a precise breakdown:
What a motion sensor on a neon sign does: It turns the sign on when motion is detected within its range (typically 3–5 meters) and powers it off after a configurable inactivity timeout (30 seconds to several minutes depending on the controller). It does not adjust brightness based on movement. It is a binary on/off trigger, not a dimming mechanism.
Where this is genuinely useful:
- Retail corridor signage that should illuminate when a customer approaches and idle when the space is empty (reduces LED operating hours, extends driver life)
- Event prop installations where the sign needs to activate on cue without a dedicated operator
- Home office or gaming room setups where an always-on sign isn’t desired but a manual switch is inconvenient
Where it creates problems:
- Bedroom installations where a person turning over in bed at 2 AM repeatedly triggers a bright illuminated sign
- Restaurant dining rooms where ambient foot traffic creates a perpetual on state — defeating the point entirely
- Any installation where the sign is meant to serve as continuous ambient light
One nuance worth flagging: most motion sensors on consumer LED neon signs use passive infrared (PIR) detection, which reads body heat rather than visual movement. This means a warm room with a vent nearby can trigger false positives. Owner reports on motion-sensor signs consistently recommend testing the trigger range and timeout settings before committing to a permanent mount position.
Per The Knot’s wedding lighting planning guide, motion-responsive lighting elements work best when they’re choreographed to a specific moment in an event — not left to trigger on ambient guest movement throughout the venue.
Mounting Hardware: The Spec That Tells You Everything About the Brand
This is a small detail with outsized diagnostic value. A gaming-room sign reviewer made a pointed comparison between two brands: the sign they’d previously owned arrived with zero mounting hardware — no screws, no wall anchors, no chain, nothing. The sign they were currently reviewing shipped with screws, wall anchors, and a chain. The reviewer explicitly called this out as a meaningful differentiator — not because the hardware is expensive, but because its presence signals that the manufacturer thought through the installation experience.
What complete mounting hardware looks like:
- Two or more clear or black standoff screws for wall mounting
- Appropriate wall anchors (drywall rated, not just wood-screw-style)
- A hanging chain or wire for ceiling or rod suspension
- A template or measurement guide for screw spacing
What incomplete hardware forces you to do: Source your own anchors, guess at screw spacing, and potentially mount the sign incorrectly — which is both a damage risk (signs dropped because an anchor pulled out of drywall) and an aesthetic risk (uneven hang).
As Apartment Therapy’s wall-mounting guide notes, the difference between a secure installation and a precarious one almost always comes down to whether the correct anchor type was matched to the wall material — something a hardware-inclusive kit accounts for, and a bare-sign package leaves entirely to the buyer.
No-drill alternatives: Several owners report success with heavy-duty removable adhesive strips (Command Large Strip equivalents, rated for 4–7 lbs per pair) for signs under 1.5 kg. For rental prop operators who need to install and strike quickly at multiple venues, this is often the correct approach — provided the sign’s mounting points are designed for strip attachment rather than only screw-hole mounting.
By the Numbers
| Feature | Budget tier (typical) | Mid-range | Fabricator / custom |
|---|---|---|---|
| USB power adapter included | Often no | Sometimes | Usually yes |
| Dimmer type included | None or 3-step | 3-step or remote | Specifiable |
| Motion sensor available | Rare | Add-on | Add-on or integrated |
| Mounting hardware included | Minimal | Screws + anchors | Full kit + template |
Compiled from aggregated owner reports and manufacturer product listings as of Q2 2026.
Frequently Asked Questions
What USB charger wattage do I need for an LED neon sign — does it matter if I use a 1A or 2A adapter? Yes, it matters. Most USB-powered LED neon signs are designed for 5V 1A (5 watts). Using a higher-amperage adapter — particularly “fast charge” or 2A+ adapters — can cause controller incompatibility that manifests as continuous flickering. Check the product listing for the rated input spec and match it. When in doubt, a standard 5V 1A USB wall adapter is the safe default.
Why is my LED neon sign flickering or flashing instead of staying on? The most commonly documented cause is a mismatched USB adapter — specifically, using a 2A or fast-charge adapter on a sign rated for 1A. This is a buyer-discovered failure mode reported across multiple sign categories, most explicitly documented by a VIKLIU sunset sign reviewer. Secondary causes include a loose connection at the controller, a failing LED driver, or an underpowered USB hub. Swap the adapter first; it resolves the issue in the majority of cases.
Do LED neon signs come with a power adapter or do I need to buy one separately? It varies by manufacturer and price point. Multiple owners across product categories report receiving signs without a USB power brick included. Verify this on the product listing before ordering — especially for event installations where you need everything on hand. A standard 5V 1A USB wall adapter is inexpensive and widely available; a Firestick adapter or similar has been reported to work correctly when the amperage matches.
What is the difference between a three-step button dimmer and a remote control dimmer on a neon sign? A three-step button dimmer is an inline controller wired into the power cable. One press cycles through three fixed brightness levels (typically 100%, 50%, 25%) and off. A remote control dimmer gives you wireless brightness adjustment — either in steps or continuously — from across the room. For event use, the remote is worth the price delta because it lets you adjust brightness without physically reaching the sign.
Do motion sensor neon signs turn on and off automatically or do they just adjust brightness? They turn on and off — motion sensors on LED neon signs are binary on/off triggers, not brightness modulators. The sign powers on when the PIR (passive infrared) sensor detects body heat within range, and powers off after a set inactivity period. They do not dim in response to motion. For bedrooms, this is often the wrong feature; for retail corridors and event activations, it’s the right one.
What is the best way to hang a neon sign without drilling into the wall? Heavy-duty removable adhesive strips — rated for the sign’s weight — are the most widely used no-drill solution. Apartment Therapy’s hanging guide recommends matching strip weight rating to surface type: painted drywall requires a higher-rated strip than a flat, clean surface. For signs under approximately 1.5 kg with accessible flat mounting points, two pairs of heavy-duty strips distributed across the mount locations provide a stable installation. For heavier signs or rental environments where repeated removal is expected, a ceiling-hung chain from a tension rod or picture rail is a cleaner long-term solution.